

Building anything on a site can feel complicated, but most projects follow a sensible sequence that you can learn and use to avoid surprises and extra expense. Projects usually begin with planning and checks, then move on to ground preparation and foundation, followed by the main structural and service work, and finally to visible finishes and ongoing maintenance so the job lasts.
As you move through each stage, it helps to look at real projects for guidance, and many people refer to local case studies for this reason. Firms such as LSL Surfacing, based in Cambridgeshire, often share examples that show how certain aspects, like surfacing, play out on actual sites and affect cost and performance.
Most sites also rely on making the right setup choices for their construction project while the work moves from one stage to the next. Such as securing permits and utility connections, careful groundworks and temporary services during early works, structural sequencing, crane operations, M&E coordination and testing, among others. Through it all, having a sensible site setup is also important, from organised logistics and security with controlled access points to CCTV surveillance, fencing, and anti-vandal cabins. These keep people safe, protect material and assets, and help the project run as planned.
Let’s explore the construction process from start to finish in detail and spot problems before they become expensive. Knowing what to expect at each point and who to ask for advice helps too, because real sites always bring up small decisions about material, access, systems, and safety that are easier to handle when you already know how to fix them, so let’s get to it.
1. Planning and Permission
Start by checking permissions and planning early because the paperwork can change what you build and how long it takes. Local planning authorities grant the large majority of decisions, with recent national figures showing 87% of applications granted as of June 2025, but that still leaves many that need change or are refused, so don’t assume approvals automatically.
A proper survey is conducted at this stage, and every detail is recorded about the site. From soil type to existing drainage systems, from nearby trees to any underground services. These facts shape what you can do, and they help make accurate cost estimates. Feeding that survey data into 3d bim coordination lets the whole team see how the structure, services, and groundworks fit together before anyone breaks ground. Spotting clashes on a digital model rather than out on site keeps the programme on track and saves a good deal of expensive reworking later on.
Proper planning and acquiring the required permissions usually reduces the need for redesigning, possible disputes, and last-minute expenses.
2. Prepping and Safety Measures
Before any digging or concrete goes down, the site needs a careful setup so people can work safely and the programmer stays on track. The process begins with clearing the footprint, marking access and emergency routes, and installing temporary fencing and controlled entry points to keep the public and unauthorised vehicles out.
Welfare facilities like toilets, washing and drying areas, and a resting place are laid out close to the work zone, and clear signage and planned walkways show everyone where to move. Teams usually run a short site induction and publish the emergency plan.
Secure storage and anti-vandal cabins are brought in to protect tools, paperwork, and plant, while CCTV and located gates add a further deterrent. A well-organised, prepared site cuts accidents and reduces loss and vandalism.
3. Groundwork and Foundation
Groundwork sets how well the project performs over time because the subbase and drainage determine settlement and surface life. Get the levels right, remove soft topsoil, and lay a firm layer of crushed stone or MOT Type 1, then compact it so it will not sink.
Sort the drainage before you start, for which you may need channels and gullies, as well as permissions to connect to a sewer. Choose materials and aggregates that suit the traffic they will experience because asphalt behaves differently from concrete or block paving. Suppliers like Storefield can ensure the timely delivery of aggregates you need based on your requirements.
On the other hand, high-quality concrete installations used for foundations or heavy-duty pavements are expected to last many decades when mixed and placed correctly. These are averages, and depending on the precise specification you require, you should ask suppliers, among others, for advice.
4. The Construction Stage
This is the visible bit where plans turn into a real, standing structure and where careful sequencing is more important than speed. First, the substructure is completed, which includes the foundation and basement, along with the retaining walls. Foundations are dug or piled to suit ground conditions identified in the survey, and then they are formed, reinforced, and poured with concrete. Good foundation work prevents future cracking and movements, so it is not an area to skimp on.
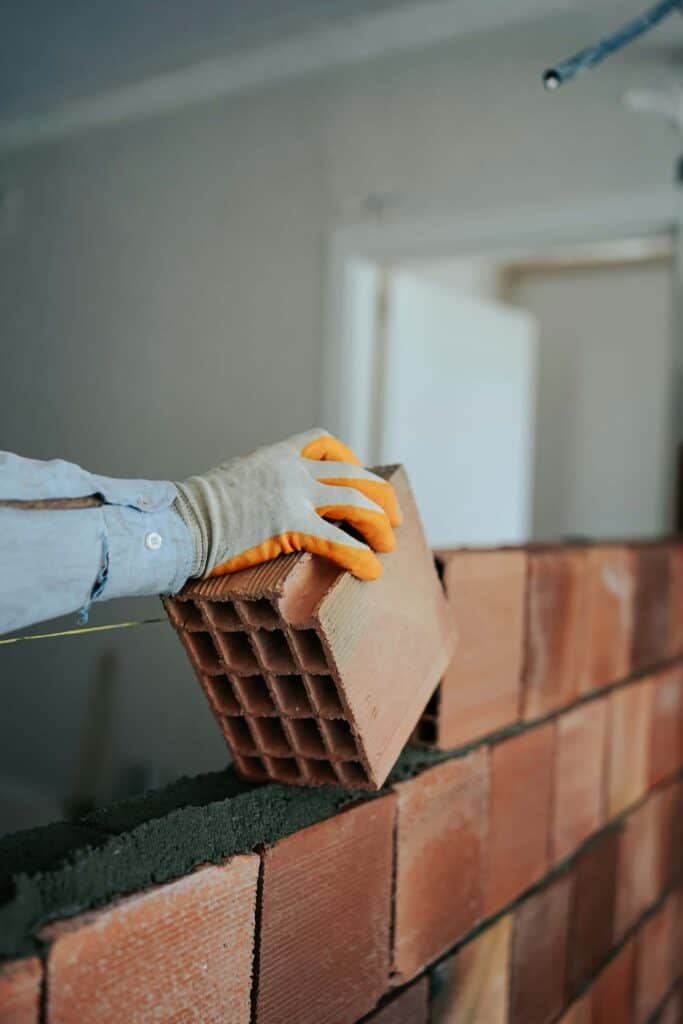
Once the foundation is done, the superstructure goes up. For a small building or house, this might be load-bearing brick and blockwork. For larger buildings, it can be a concrete frame or a steel frame that gets bolted or welded together on site. Each method has its own pace, and jobs are generally split into teams at this stage. As the structure grows, workers add walls, windows, roofs, and any other structural requirements to keep the building dry. At the same time, teams install the pipes, wires, etc., so the services are ready before any interior work begins.
Once the main structure and services are finished, the inside is completed with the plastering, flooring, doors, painting, and the final fitting. Everything is then tested, so the handover happens smoothly.
5. Aftercare and Maintenance
Once the project is complete and handed over, good aftercare keeps the asset working and avoids small defects from becoming costly problems.
Start with a snagging walk-through and a handover pack that includes architectural drawings, warranties, the building control completion certificate, test certificates, and supplier contacts. Agree on a simple maintenance plan, inspect monthly for the first three months, then move to quarterly or seasonal checks, and tailor the inspection to the UK’s weather cycles.
Keep a clear maintenance and incident log, review performance after winter and after any extreme weather, and set aside a budget for cyclical renewals.
In Conclusion
In the end, successful construction is less about heroics on site and more about sensible choices made at the right moment.
Treat each stage as an opportunity to lock in quality and reduce future chaos, engage locally, team up with experienced partners, factor in the realities of weather, and make decisions that protect long-term value.
Whether you are managing a small extension for surfacing or a larger development project, the right supplier and site measures will turn plans into an asset that performs.