
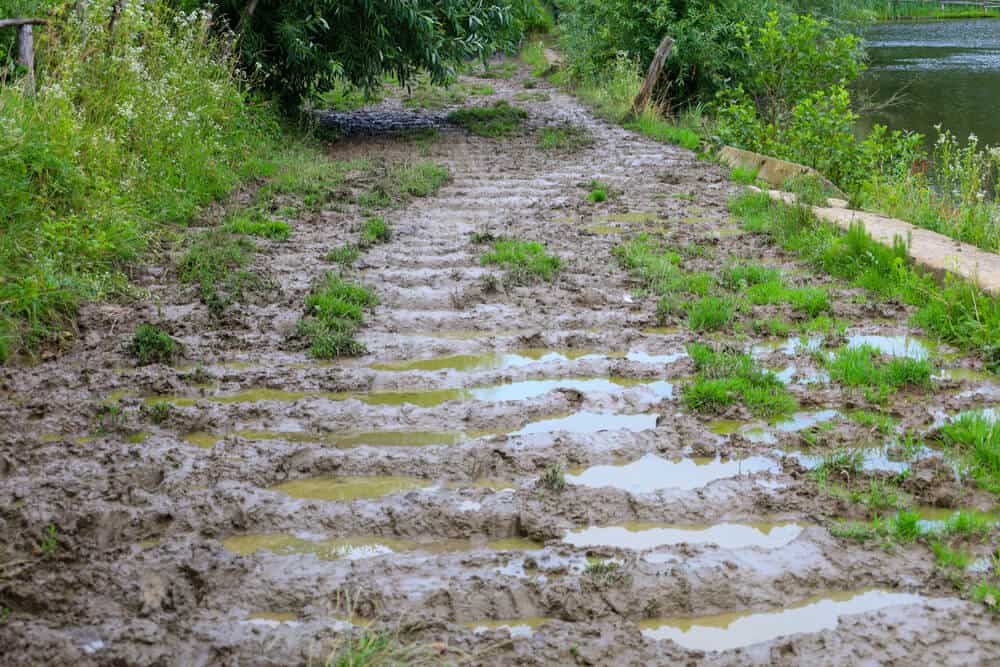
Heavy foot traffic can turn a rural path into a slippery strip of mud after only a few days of rain. Repeated patching with loose gravel may offer temporary relief, but lasting repairs depend on a firm base, good drainage and materials that stay separated from the soil below.
A properly rebuilt pathway will carry people, garden carts and small outdoor equipment through wet weather without becoming a recurring maintenance job.
Why Rural Footpaths Turn to Slush
Mud develops when water remains in fine soil while repeated foot traffic compresses and churns the surface. Clay-rich ground is especially troublesome because it drains slowly. Low spots, roof runoff and water flowing downhill can make the problem worse.
Before ordering material, watch the path during steady rain. Note where water enters, where it pools and where it leaves. Guidance on stabilizing muddy access routes shows why adding stone alone often fails when soft soil and trapped water remain underneath. Redirecting runoff with a shallow swale or drain may need to happen before rebuilding begins.
Excavate Down to Stable Subsoil
Remove the wet organic layer until you reach soil that feels firm underfoot. On a typical garden path, this may require excavation to a depth of 6 to 10 inches, although deeper mud or heavy use can call for more. Dig the full width evenly and allow for a slight raised center or cross-slope so rain can escape.
Plan the finished level before purchasing landscaping supplies. Account for the depth of the base aggregate and the finer surface material, then check that the completed path won’t direct water toward sheds, garden beds or buildings. Compact exposed subsoil where practical, but avoid working saturated ground because it will deform under pressure.
Lay Geotextile Fabric First
Place nonwoven geotextile fabric directly over the prepared subsoil. The fabric separates soft earth from the stone base while still allowing water to pass through. Without that separation, gravel gradually presses into the mud and soil rises into the aggregate, leaving the path uneven again.
Overlap adjoining sheets by at least 12 inches and extend the fabric up the sides of the excavation. Keep it smooth as you add the first layer of stone. Work from one end so wheelbarrows don’t tear or shift the uncovered fabric. Avoid ordinary plastic sheeting, which can trap water and create a hidden puddle beneath the path.
Source Essential Drainage Materials
Build the lower layer with angular crushed aggregate that locks together under compaction. Rounded river pebbles tend to roll under pressure, so they work better as decoration than as a structural base. Spread the aggregate in layers about 3 to 4 inches deep and compact each layer before adding the next.
For the surface, choose compactable gravel with enough fine particles to fill gaps while preserving a textured finish. A path used mainly by people may need a narrower, shallower build than one carrying loaded garden carts. If water crosses the route, install a properly sized drainpipe beneath the base or create a stone-lined channel. Never bury an active flow and assume the gravel will absorb it indefinitely.
Maintain Pathways Through Wet Seasons
Inspect the path after the first heavy storm and again when the wet season ends. Clear leaves from side drains, rake loose surface gravel back into shallow hollows and top up areas that have settled. Early repairs usually require a bucket or two of material, while neglected depressions collect water and grow quickly.
Keep the edges trimmed so grass and soil don’t form a lip that traps runoff. If one section stays damp, check for an uphill water source before adding more gravel. A dry, stable pathway should shed rain without developing deep footprints. Once the base has settled through a full wet season, occasional raking and drain clearing may be all it needs.
A well-built path often reveals its success during the next long rain. Water moves away, the surface remains firm and muddy tracks stop following everyone back toward the house.